The Saturday Morning Home Repair Blog (SMHRB) is where we gather to discuss the many and varied aspects of home repair. Some here are trained professionals. Some, talented DIYers. All are welcome. Please feel encouraged to ask questions, share successes, lament sags, drips and cracks and, as always, share any advice that you have for the rest of us.
I'd like to show you the effort I put into the steel & sheet metal racks.
This post was put up a 6 weeks ago & got 8 comments. There wasn't a diary ready to go this morning so I thought I'd fill in by repeating this.
Hope it's ok :=)
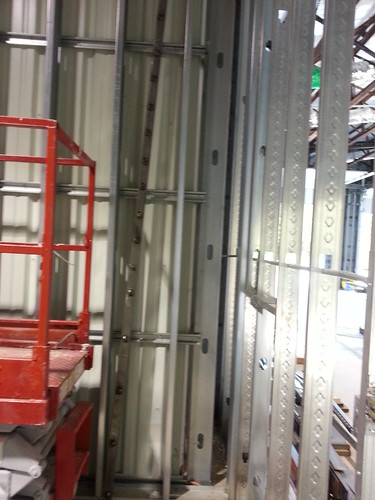
This project was done in 4 or 5 stages, I had to put something into the wall to make it strong enough to hang an 18 inch arm on. Then I had to make something bolt on to the wall. Then the drywall had to go up & be painted.
It only took a couple hours at the end to bolt up the finished product. But I would guess I had well over 300 man hours into it before it was bolted up ! I had help in spots, but I did 80 percent of this myself !
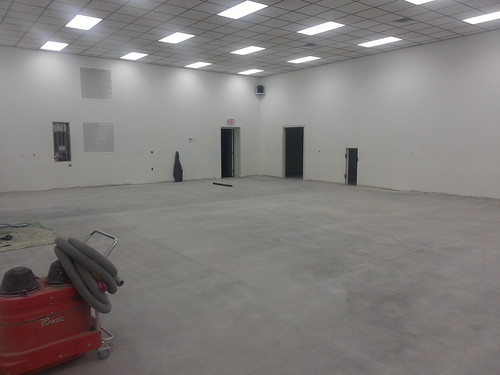
As usual I didn't take a picture of that wall before I started.
The outside wall studs are 6" studs by .065 or 16ga.
so I order 2" x 2" x .120 wall square tubing.
I also got a length of 3/4" x 095 round tubing.
along with 3" x 3/16 flat strap.
I drilled a series of holes in a template plate so everything was spaced the same.

there was 5 2 x 2 pieces & one short one like this.
I had help cutting the metal up
there was 75 or so pieces of the 3/4 tubing cut 2 3/8" long
then I welded a 3/8 jam nut on them.
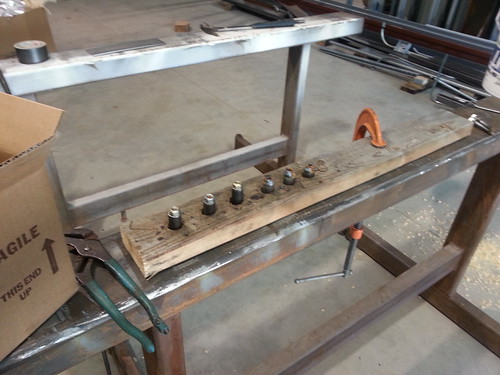
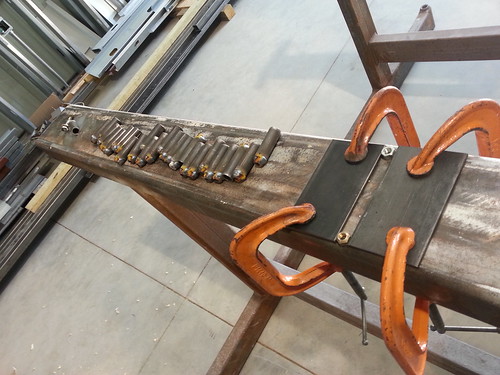
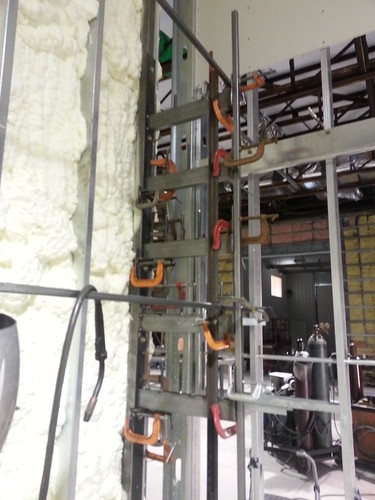
those pieces were then welded into the 2 x 2

There was a lot of holes drilled !
I drilled the 3 x 3/16 plates to match those holes in the 2 x 2.
Everything was done off one template.
I drilled a 1/8 hole. I was even so crazy that I drilled each side of the 2 x 2 so the hole was straight !
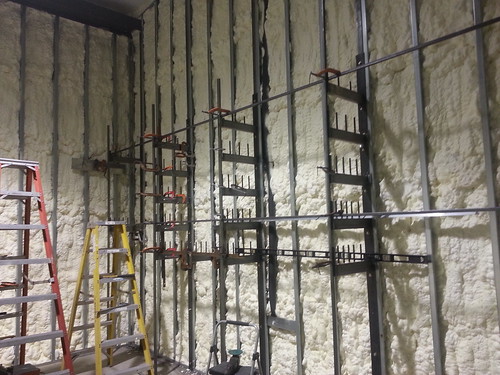
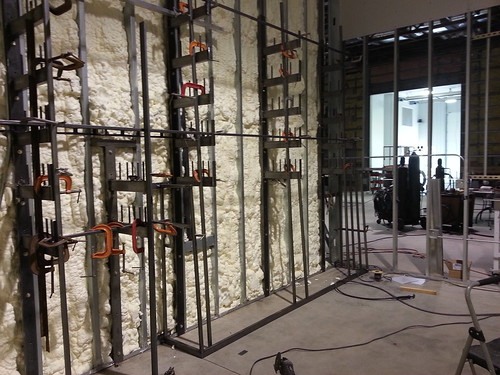
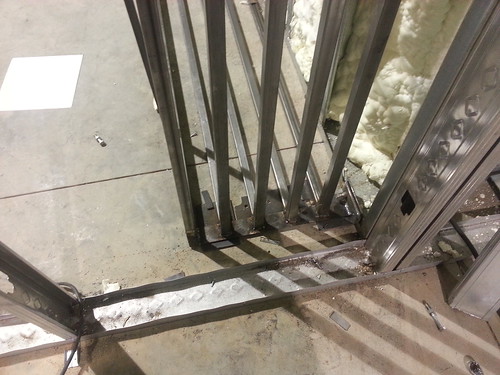
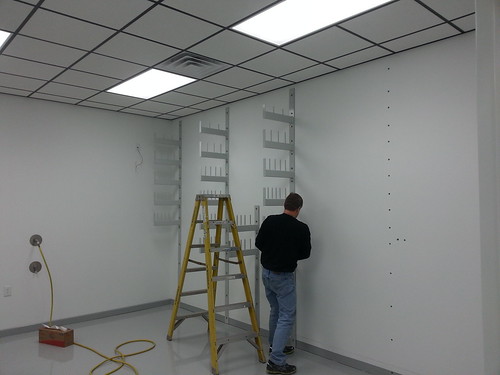
so I put the 2 x 2 onto those 6" studs next.
this is another plate that had to be cut multiple time & drilled.
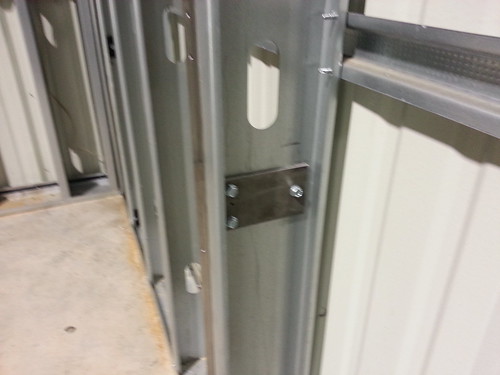
this is the opposite side with another plate & the 2 x 2
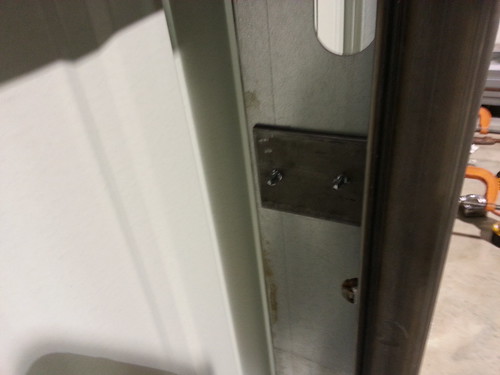
here is how I got those 2 x 2's into place & drilled & welded
I order 3" x 1 1/2" x .120
and 1/2 round rod.
1 1/2 x 1/4 flat strap
I cut the round rod 5" long
then I put those pieces in the lathe & used my 5" grinder with a sand paper disc on it to round the ends.
I cut a bunch of arms 18" long out of the 3 x 1 1/2
cut 8" long 1 1/2 strap
Made a jig
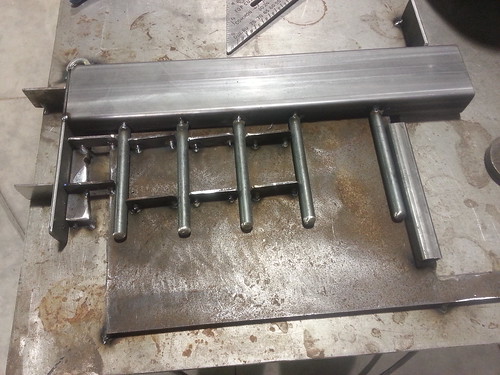

so now I have to weld those arms onto 3" x 3/16 plates.
used a lot of clamps !
I also tack them on & decided I didn't have them good enough & cut them back off several times before I figured out the best way to get them straight & level !
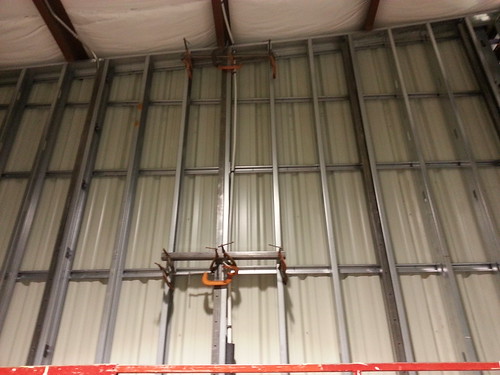
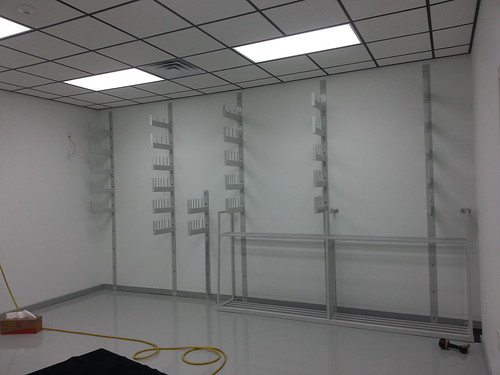
now I need a sheet metal rack !
I also wanted it easy to get out. so I fab up a door opening to side it out.
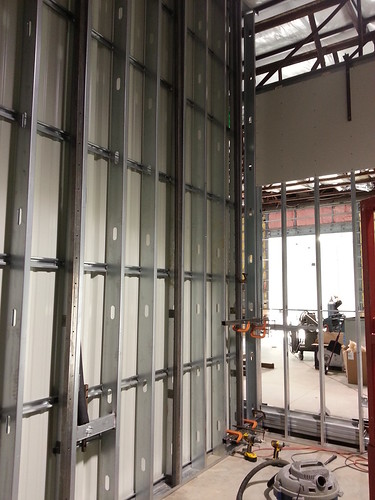
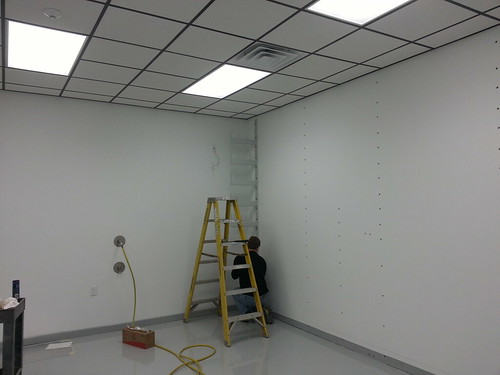
doesn't look like I took a picture of the opening before the drywall went on.
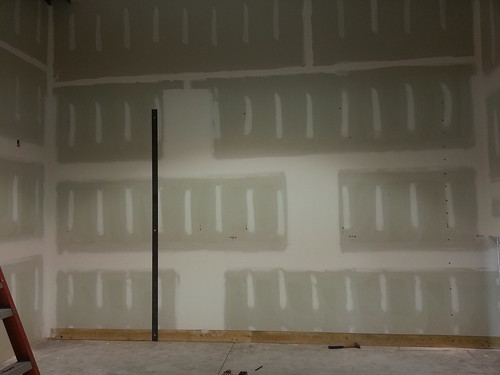
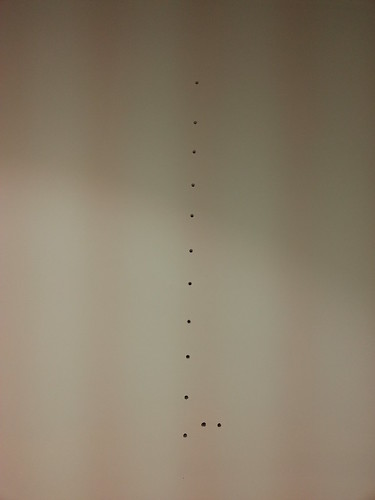
now the drywall went up I I used the template to drill the holes in the drywall
a few weeks later it would be painted
we sent the brackets & sheet metal rack out to be powder coated !
That's my brother helping me again !

I didn't take pictures of how I mounted the door hinges !
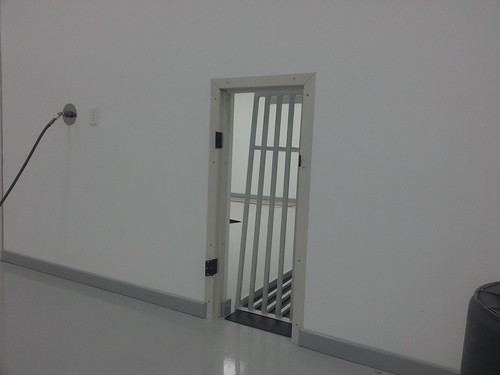
I don't know if a door was made for it either !
https://www.flickr.com/...
that was the hardest part of the project.
I don't know how it looks with steel or sheet metal in place.
Oh well !
that's the end of the Drakestone project !
Thanks for all the compliments in the pervious post on this project !
the new job is going great ! In 3 weeks I'll have company insurance !
there is a lot going on ! I'm no where near as grouchy ! I'll work on that !
Hope your long Memorial Day weekend goes well !

